Fusion SLAM
Home
  • OVERVIEW AND INTRODUCTION
  • INSTALLING
  • DATASETS
  • TUTORIALS FOR ROVIOLI (ONLINE FRONTEND)
  • TUTORIALS FOR USING MAPLAB (OFFLINE TOOLS) - BASICS
  • TUTORIALS FOR USING MAPLAB (OFFLINE TOOLS) - USE-CASES
  • TUTORIALS FOR USING MAPLAB SERVER (ONLINE)
  • HARDWARE INTEGRATION AND SENSOR CALIBRATION
  • TUTORIALS FOR EXTENDING MAPLAB
  • DEVELOPEMENT GUIDELINES
  • ADDITIONAL FORMATS
Project
  • 简体中文
  • English
  • OVERVIEW AND INTRODUCTION

    • Introduction to the Maplab Framework
    • Main Papers
    • Additional Citations
    • Related Research
    • FAQ
    • Known Issues
  • INSTALLING

    • Installing on Ubuntu
    • Compilation and Debugging
  • DATASETS
  • TUTORIALS FOR ROVIOLI (ONLINE FRONTEND)

    • ROVIOLI Introduction
    • Running ROVIOLI in VIO mode: calibartion files, rostopics, bag/topic mode, visualization
    • Running ROVIOLI in Localization mode
    • Multi-session mapping with ROVIOLI
  • TUTORIALS FOR USING MAPLAB (OFFLINE TOOLS) - BASICS

    • Basic Console Usage
    • Parameters (Gflags)
    • Console map management: load, save, basic visualization
    • Inspecting and visualizing a map
    • Map visualization: see your map in RViz!
    • Preparing a single session map: optimization, loop-closure
    • Understanding loop-closure
    • Optimizing VI-Maps
    • Preparing a multi-session map: map anchoring, loop-closure, pose-graph relaxation
    • Dense Reconstruction: attaching resources to map, available reconstruction tools
    • Resource Importer
  • TUTORIALS FOR USING MAPLAB (OFFLINE TOOLS) - USE-CASES

    • Multi-session use case: CLA, multi-floor use-case
    • Map sparsification: make your mapping more efficient
    • Stereo Dense Reconstruction: EuRoC, multi-session reconstruction use-case
    • External Features
  • TUTORIALS FOR USING MAPLAB SERVER (ONLINE)
  • HARDWARE INTEGRATION AND SENSOR CALIBRATION

    • Sensor Calibration Format: ncamera, imu-sigmas
    • Initial sensor calibration with Kalibr
    • Sensor calibration refinement
    • Intel RealSense ZR300
    • VersaVIS
  • TUTORIALS FOR EXTENDING MAPLAB

    • Using the MapManager
    • Using Timing and Statistics
    • /maplab/docs/pages/tutorials-extending-maplab/C_Coding-Examples:-Creating-a-custom-console-plugin.html
    • /maplab/docs/pages/tutorials-extending-maplab/D_Coding-Examples:-Working-with-the-VI-Map.html
    • Console Plugin System
  • DEVELOPEMENT GUIDELINES

    • Importing maplab to Eclipse
    • Contributing to maplab
    • Header Include Guide
    • Debugging applications
    • Expressing frame transformations in code
    • Verbosity Policy
  • ADDITIONAL FORMATS

Multi-session use case: CLA, multi-floor use-case

This tutorial will show you how to reproduce the large scale multi-session mapping use-case presented in the paper.

CLA merged dataset

Datasets:

You can download the rosbags and camera/IMU calibration here.

The files you need:

  • bags
    • cla_floor_f.bag
    • cla_floor_g.bag
    • cla_floor_h.bag
    • cla_floor_j.bag
    • cla_floor_f_v2_for_localization.bag
      • Intended to be used to test the localization, not to build the localization
  • calibration
    • imu-adis16488_cla.yaml
    • imu-sigmas-rovio_cla.yaml
    • imu-adis16488_cla.yaml

Alternatively, you can download the prebuilt maps directly from our dataset page.

Instructions:

  1. Use the [[Running ROVIOLI in VIO mode]] tutorial to create the initial open-loop maps.

    Important: Use the camera/imu calibration provided with the dataset.

     --ncamera_calibration=ncamera_cla.yaml
     --imu_parameters_maplab=imu-adis16488_cla.yaml 
     --imu_parameters_rovio=imu-sigmas-rovio_cla.yaml
    

    In order to create the maps, make sure you use these flags:

    # We don't need images for this, they will only lead to a large map folder.
    --map_builder_save_image_as_resources=false
    # This is not strictly needed, but if set to true, this will create a
    # localization map version for each map, which depending on the current 
    # implementation of ROVIOLI might include key-framing or summarization,
    # which we would like to avoid for now.
    --optimize_map_to_localization_map=false
    

    You might want to use these flags as well:

    # Visualize the ROVIO vio results.
    --rovio_enable_frame_visualization=true
    # Increase playback speed 2x.
    --vio_rosbag_realtime_playback_rate=2.0
    # Will overwrite the vi-map if there is already one 
    # stored in the target folder.
    --overwrite=true
    # Increase verbosity of ROVIOLI
    --v=1
    
  2. Check your maps.

    After step 1 you should have the following maps/map structure (with whatever names you chose):

    <your_dataset_folder_path>
    ├── cla_f_vi_map
    │   ├── metadata
    │   ├── resource_info
    │   ├── resources
    │   └── vi_map
    │       ├── edges
    │       ├── landmark_index
    │       ├── missions
    │       ├── optional_sensor_data
    │       ├── sensors.yaml
    │       ├── vertices0
    │       ├── vertices1
    │       ├── ...
    │       └── vertices17
    ├── cla_g_vi_map
    │   ├── metadata
    │   ├── resource_info
    │   ├── resources
    │   └── vi_map
    │       ├── edges
    │       ├── landmark_index
    │       ├── missions
    │       ├── optional_sensor_data
    │       ├── sensors.yaml
    │       ├── vertices0
    │       ├── ...
    │       └── vertices22
    ├── cla_h_vi_map
    │   ├── metadata
    │   ├── resource_info
    │   ├── resources
    │   └── vi_map
    │       ├── edges
    │       ├── landmark_index
    │       ├── missions
    │       ├── optional_sensor_data
    │       ├── sensors.yaml
    │       ├── vertices0
    │       ├── ...
    │       └── vertices24
    └── cla_j_vi_map
        ├── metadata
        ├── resource_info
        ├── resources
        └── vi_map
            ├── edges
            ├── landmark_index
            ├── missions
            ├── optional_sensor_data
            ├── sensors.yaml
            ├── vertices0
            ├── ...        
            └── vertices28
    
  3. Align, loop-close and optimize maps:

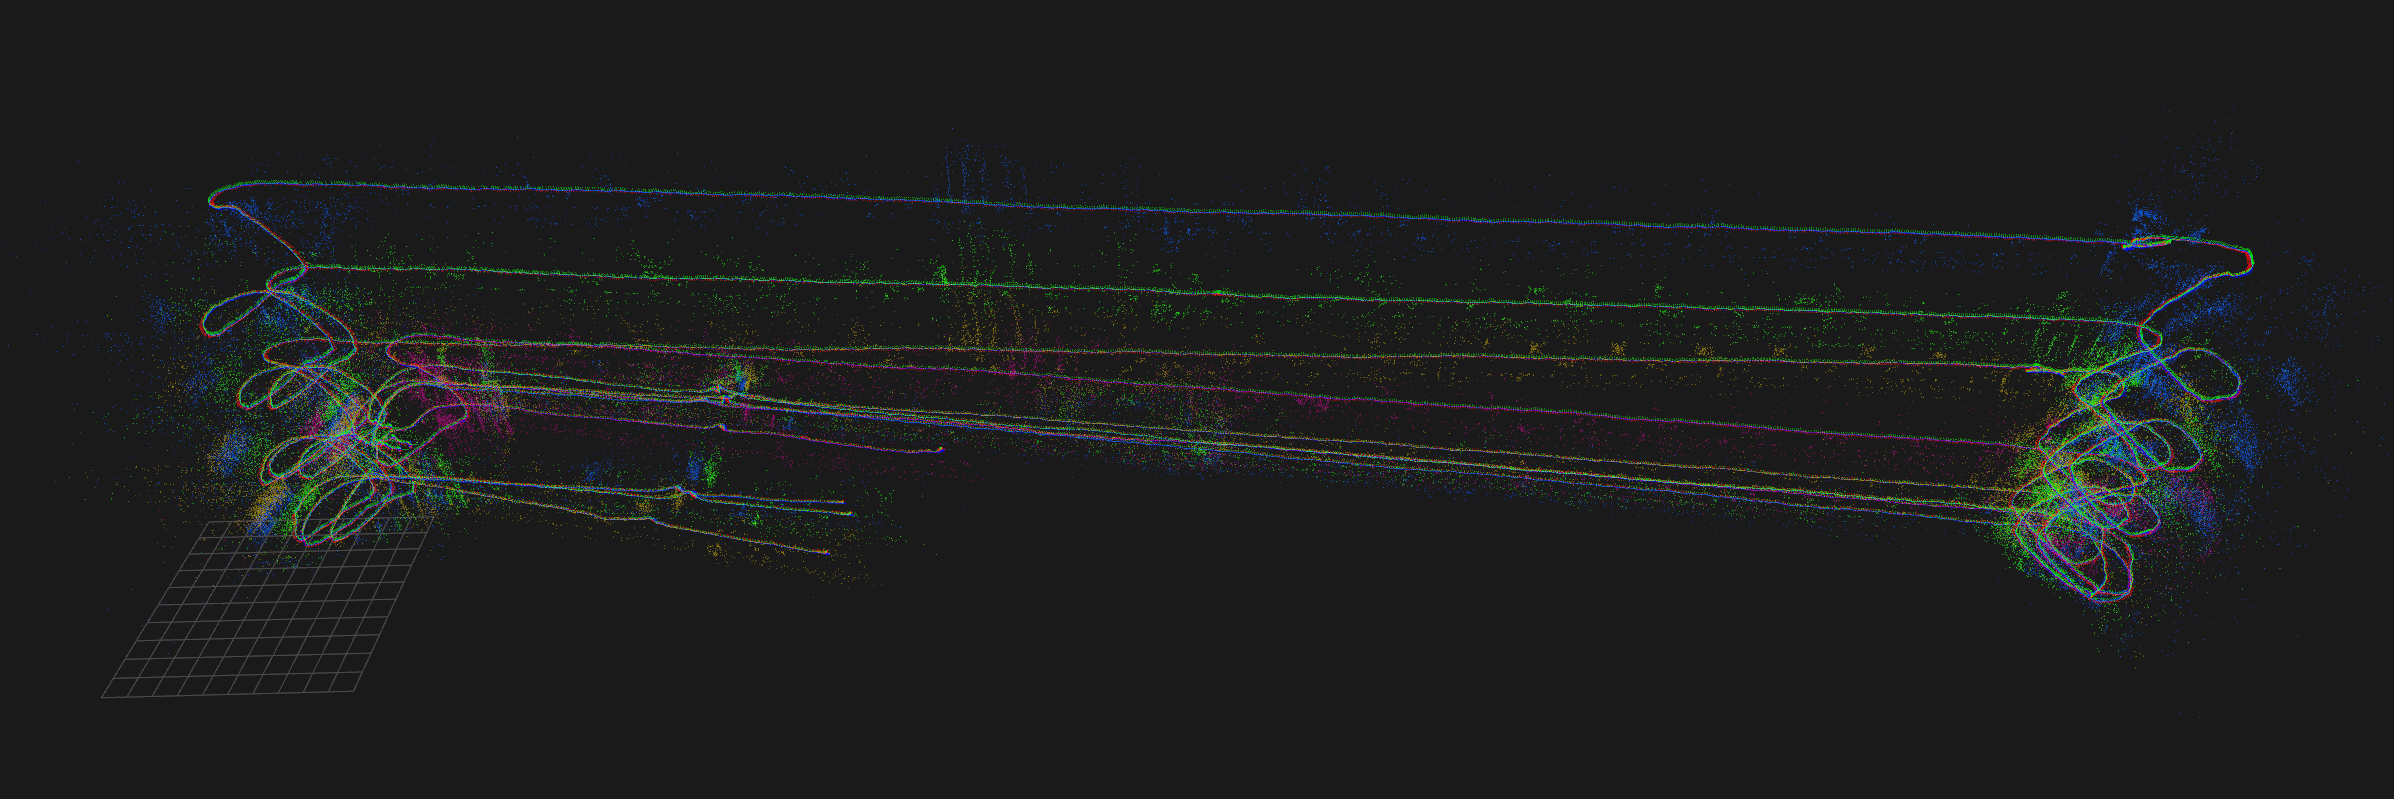
    Load all maps, join, align, relax, loop close and optimize them.

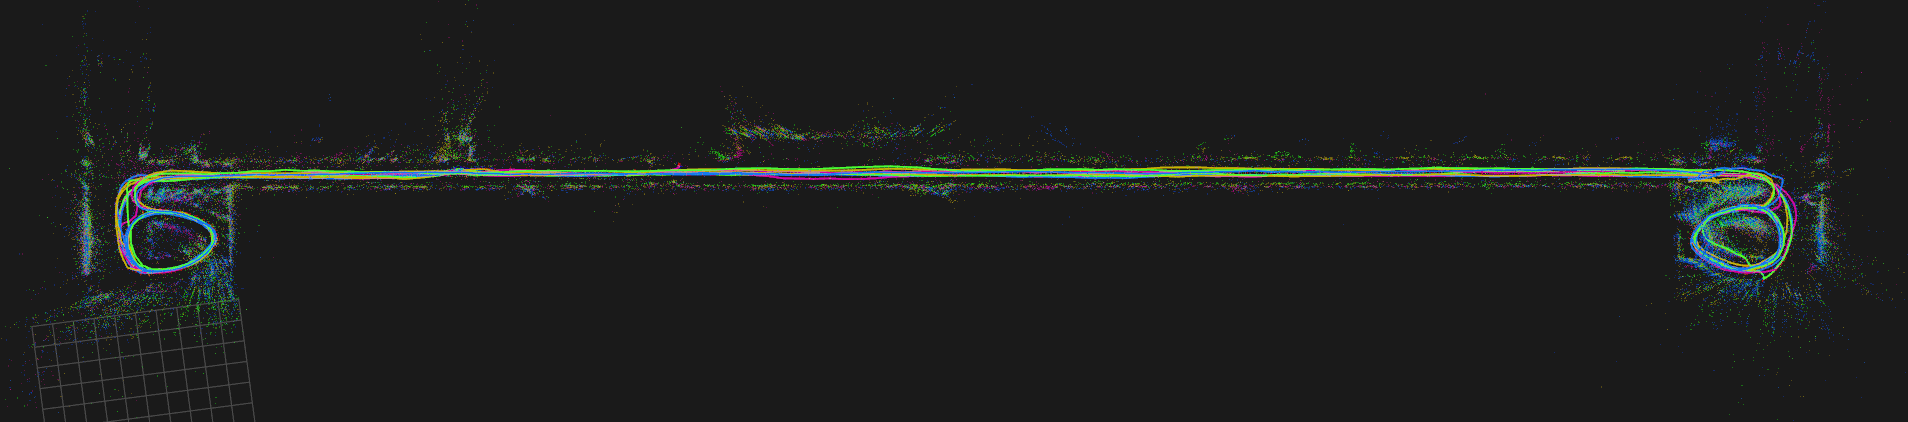
    load --map_folder=<your_dataset_folder_path>/cla_f_vi_map
    load --map_folder=<your_dataset_folder_path>/cla_g_vi_map
    load --map_folder=<your_dataset_folder_path>/cla_h_vi_map
    load --map_folder=<your_dataset_folder_path>/cla_j_vi_map
    # This will create a joint map with 4 missions
    join_all_maps --target_map_key cla_f_g_h_j_vi_map
    # Visualize all missions with different colors.
    v --vis_color_by_mission
    

    You should see the following: CLA_4_maps_before_alignment

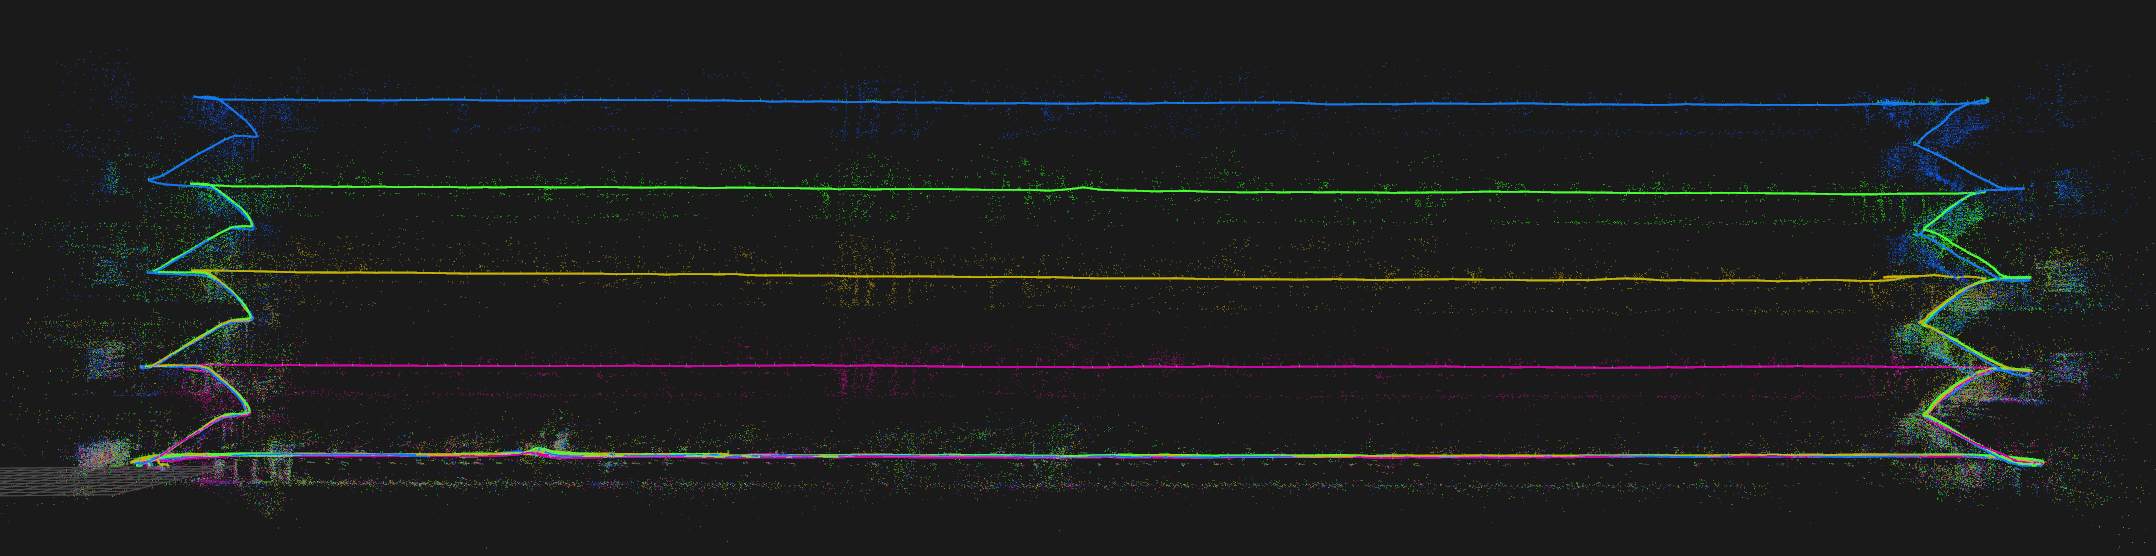
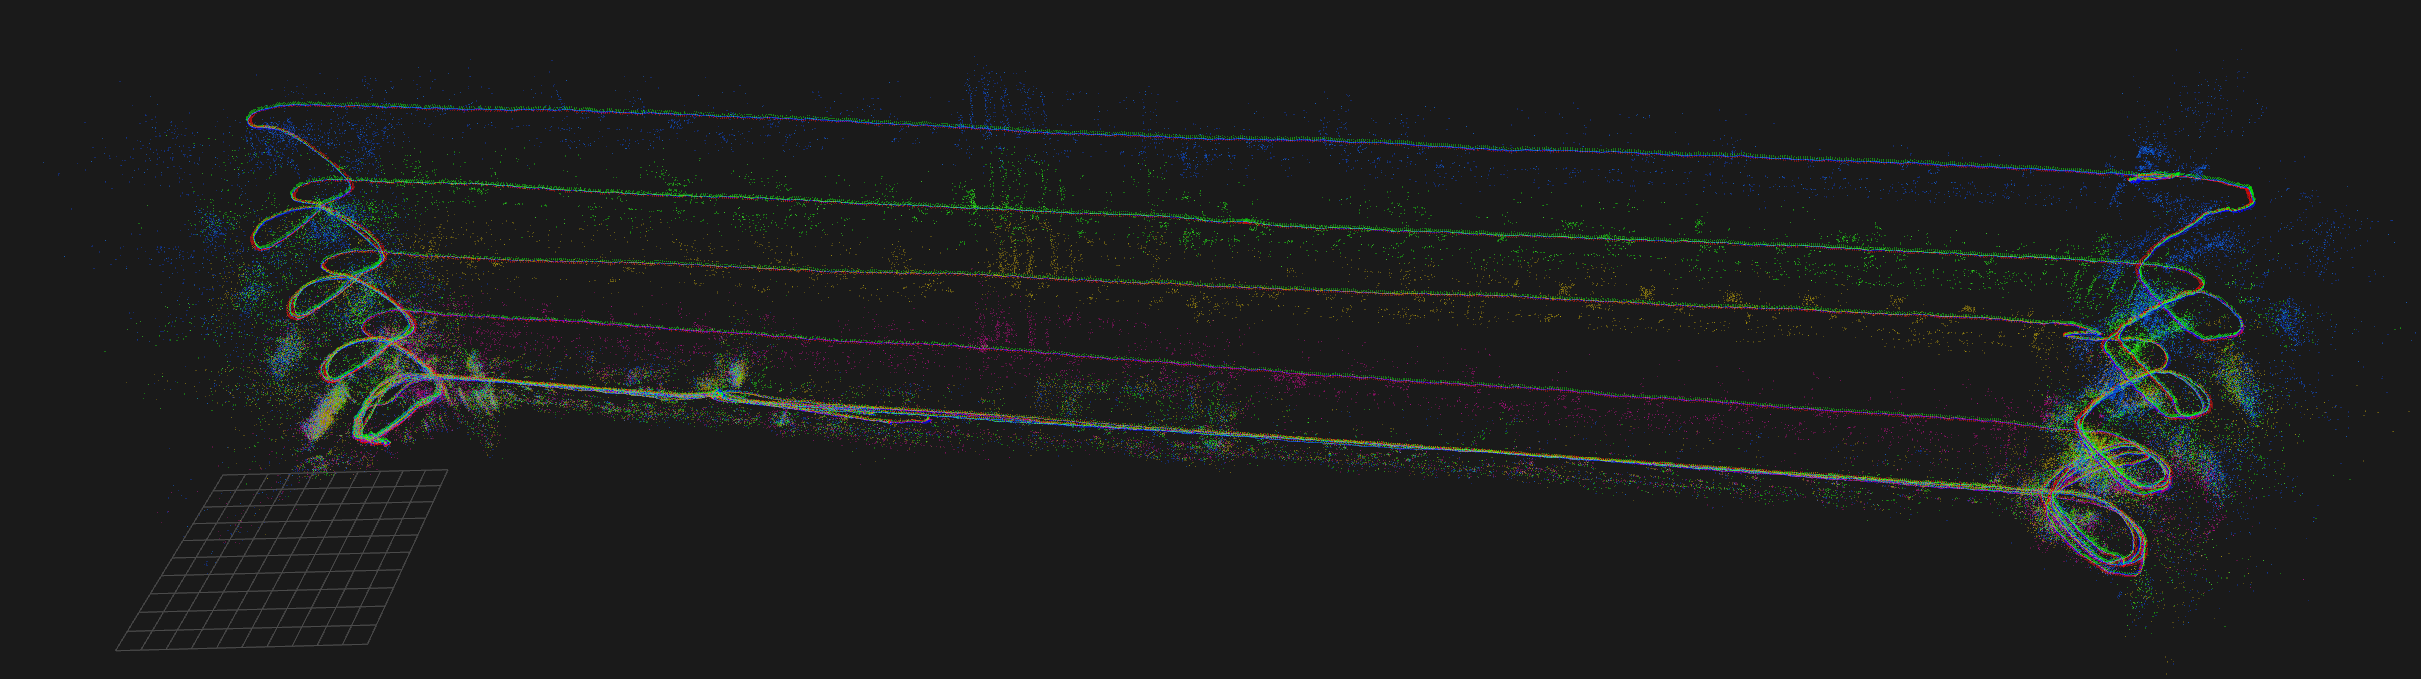
    # Set one of the base frames to "known" to be able 
    # to anchor all other maps with respect to that.
    sbk
    # Align all missions.
    aam
    # Visualize all missions with different colors.
    v --vis_color_by_mission
    

    Your map should now look like this: CLA after alignment of all missions

    The next step is optional, but will speed up relax, the loop closure and bundle adjustment significantly.

    # Key-frame the map.
    kfh
    

    Pose-graph relaxation to close large loops:
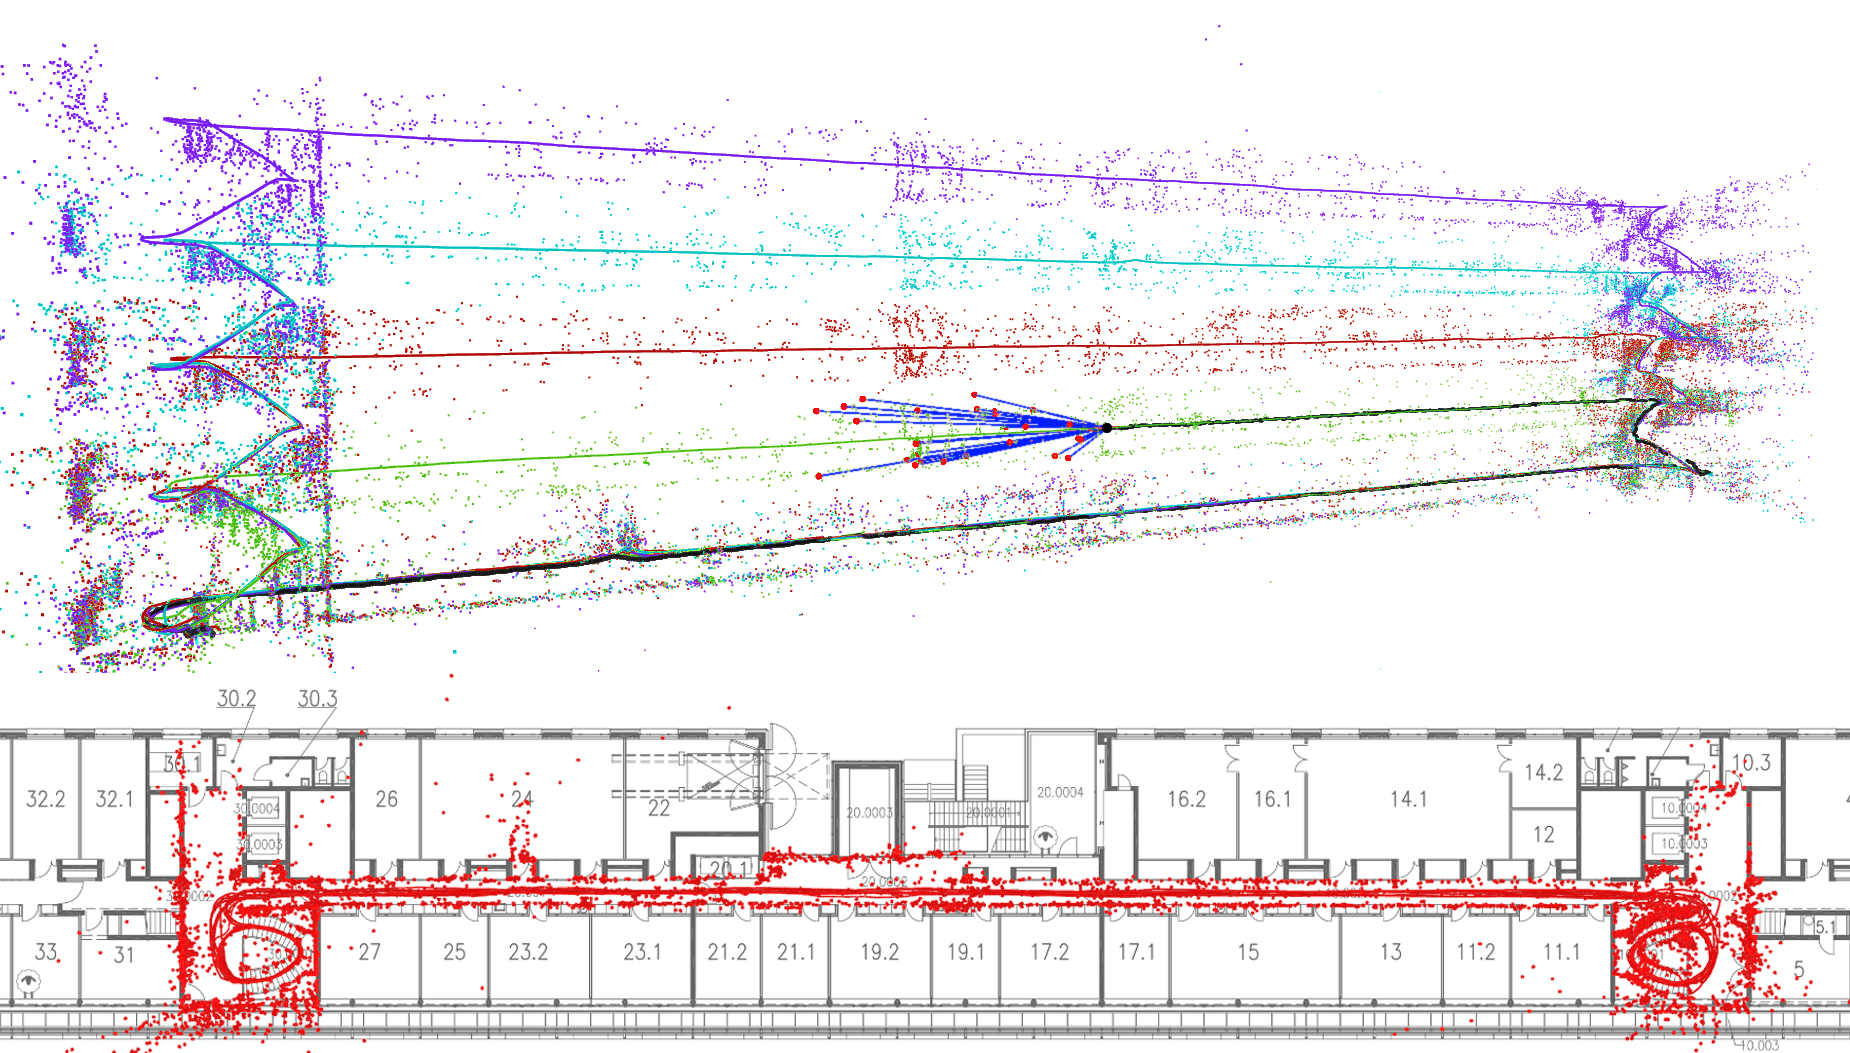
    relax
    

    This should have closed the large loops and aligned the floors: CLA after relax

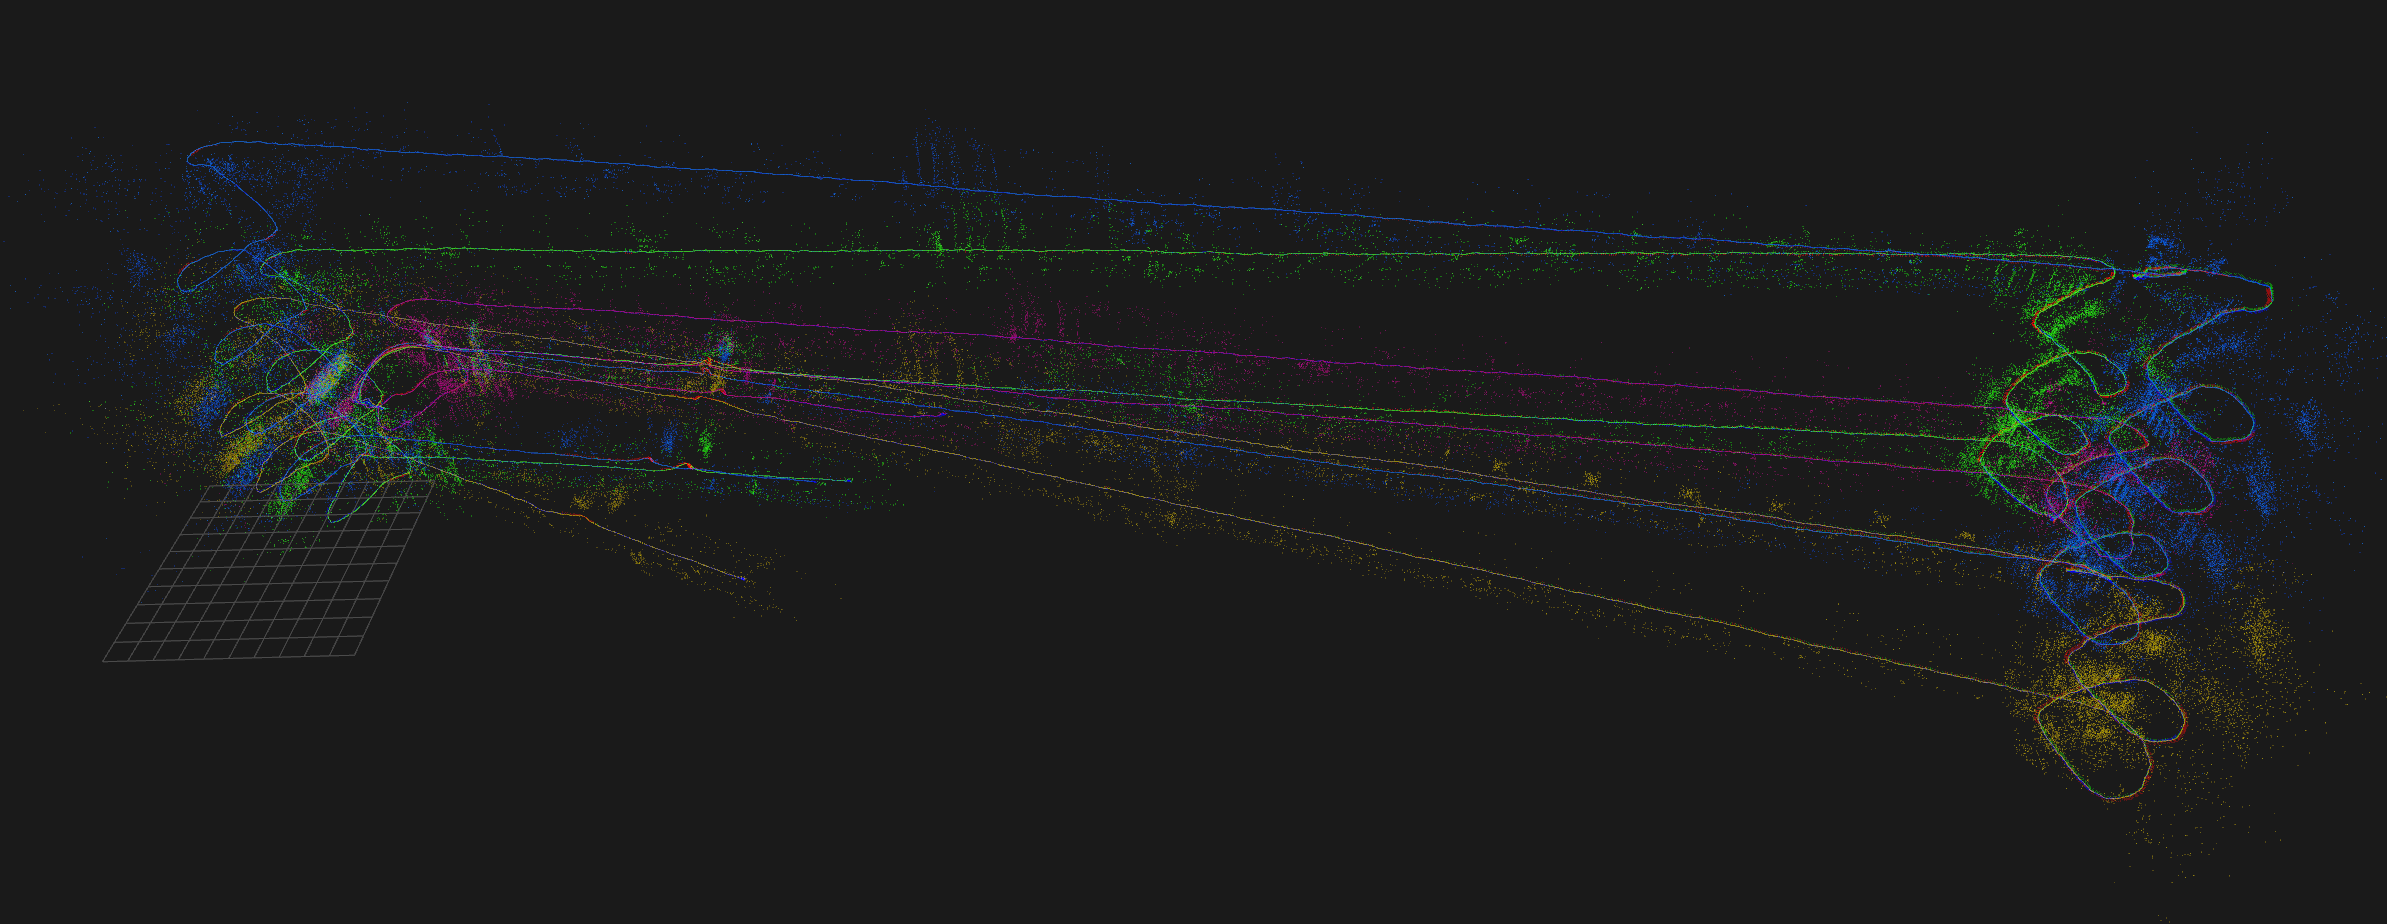
    # Loop close the map
    lc
    # Bundle adjustment
    optvi
    # You can further increase the quality of the map by repeating
    # lc + optvi or using --ba_num_iterations=50
    

    Done: Finished CLA mapFinished CLA map

Next
Map sparsification: make your mapping more efficient